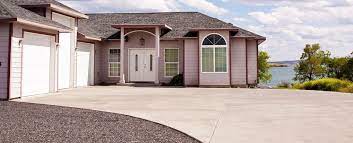
Want to install a concrete parking lot at your commercial facility? We've got you covered.
Contact us today to arrange for concrete installation services in the Hermantown area.
INSTALLING CONCRETE:
is a challenging job and every concrete pour is different. Size, shape, color, finish and complexity of a project all have to be considered when pouring concrete. Use this guide of eight steps in concrete installation to get a better understanding of what takes place before, during and after concrete is placed.
Step 1 - Site Work
Before concrete can be poured, the site needs to be prepared to reduce the chance of heaving from expansive soils and frost. On small projects, use hand tools to clear the area of all grass, rocks, trees, shrubs, and old concrete, exposing bare earth. Earth moving equipment speeds up the process, especially for large pours. Then, place and compact a sub base of fill gravel, unless the soil is very compact and stable.
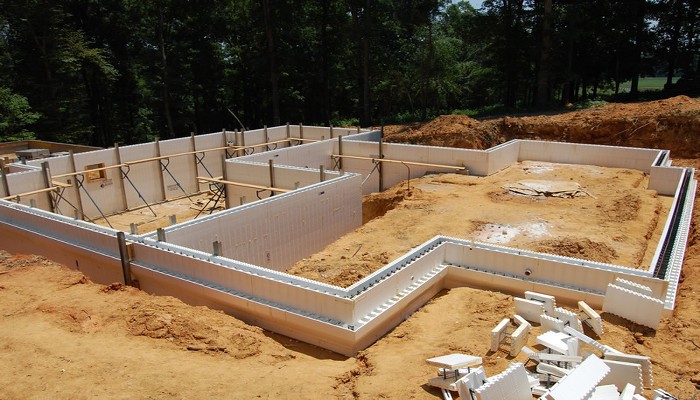
Step 2 - Forming
Once the sub base is prepared, forms can be set. For residential concrete projects, use wood forms with metal or wood stakes. Attach forms to the stakes with screws or special nails to allow for easy removal after the concrete has cured. Forms should be in good condition, be set to provide the proper slope or grade for drainage, and form clean corners where they meet each other or other structures.
Step 3 - Mixing
If you're using bagged concrete purchased at a home center, mix the concrete with water according to the package instructions. For small slabs, you can use a wheel barrow and shovel, but renting a concrete mixer can make the process easier. If your concrete arrives in a ready mix truck, the drum on the back of the truck will be spinning to keep the concrete from settling and getting hard.
Step 4 - Placement
Pour wet concrete into the forms until they are full to the top edge. While the wet concrete is being poured, use shovels, rakes and "come alongs" (special concrete rake) to move the concrete to make sure there are no voids or air pockets.
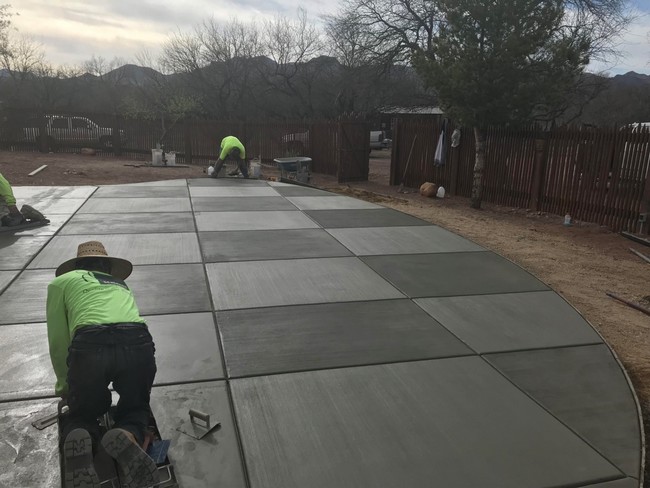
Step 5 - Early Finishing
Use a large metal or wood board to screed the top of the concrete. Screeding helps compact and consolidate the concrete, and begins the smoothing and leveling process. Next, use a float to further compact the concrete, even out any high or low areas, and create a smooth finish. Small hand-held floats are good for edges and detail work, large bull floats are best for working large areas. At the same time, work control joints and edges into the concrete with special hand tools.
Step 6 - Troweling
If the concrete will receive a rough broom finish, no additional finishing may be needed. If the concrete will be smooth toweled or stamped, a steel trowel finish is needed. Let the concrete rest until the surface begins to firm up. Once firm, use a steel trowel to create a smooth, hard and uniform finish. Steel troweling can be done by "skating" across the surface on knee boards, troweling small areas at a time, or with tools on long poles known as "fresnos" or "funny trowels".
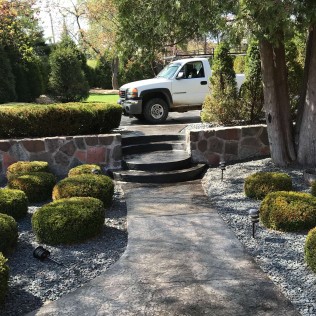
Step 7 - Final Finishing
Once all the troweling (float or steel) is complete the final finish can be applied to the concrete. The most basic type of finish is known as a "broom finish". A special broom is pulled across the concrete surface creating a rough textured surface. Other types of finishes include stamped, textured, or smooth trowel to name a few.
Step 8 - Curing
Let the concrete rest and begin to cure (get hard). The curing process lasts 28 days, with the first 48 hours being the most critical. Apply a liquid chemical curing and sealing compound to help the concrete cure slowly and evenly, which helps reduce cracks, curling, and surface discoloration. You can start to use your concrete for light foot traffic 3 to 4 days after placement, and you can drive and park on your concrete 5 to 7 days after placement.
The curing process lasts 28 days, with the first 48 hours being the most critical. Apply a liquid chemical curing and sealing compound to help the concrete cure slowly and evenly, which helps reduce cracks, curling, and surface discoloration. You can start to use your concrete for light foot traffic 3 to 4 days after placement, and you can drive and park on your concrete 5 to 7 days after placement.

 218.729.7249